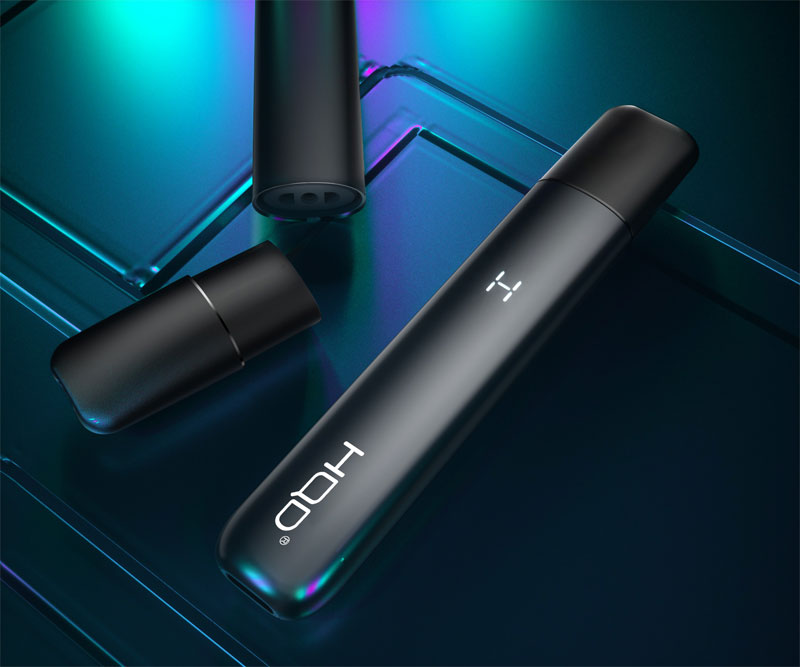
In today’s fast-paced world, where vaping has become increasingly popular, understanding e cigarette repair can be crucial for maintaining your device’s performance and longevity. Whether you’re an experienced vaper or a novice just starting, knowing how to fix your e-cigarette can save you time and money. E-cigarettes are electronic devices that simulate smoking by producing vapor. Like any electronic device, e-cigarettes may require repairs. This guide provides detailed insights into repairing common issues, allowing you to enjoy your vaping experience without interruption.
Understanding E Cigarette Components
Before diving into e cigarette repair, it’s essential to understand the key components of the device. A typical e-cigarette comprises the battery, atomizer, and cartridge or tank. The battery powers the device, while the atomizer heats the liquid, turning it into vapor. The cartridge or tank holds the vaping liquid. Identifying which part is malfunctioning can help streamline the repair process.
Common E Cigarette Issues
Several common problems can arise with e-cigarettes, such as leaking tanks, poor vapor production, malfunctioning batteries, and burnt taste. Understanding these issues and knowing how to address them is crucial.
- Leaking Tanks: This can result from a loose seal or overfilled tank. To fix it, check the rubber seals and make sure they are in place correctly. If they are damaged, replacing them is necessary.
- Poor Vapor Production: This could be due to a clogged atomizer. Cleaning the atomizer regularly can help prevent this issue. Ensure the battery is charged adequately and connections are clean.
- Malfunctioning Batteries: If your device is not turning on, it may be the battery. Make sure it is charged and properly connected. Sometimes, resetting the battery by turning off and on can resolve minor issues.
- Burnt Taste: Often caused by a dry atomizer. Ensure the tank has enough e-liquid and consider replacing the coil if the problem persists.


Step-by-Step E Cigarette Repair
Step 1: Diagnosis
Start by identifying the issue with your e-cigarette. Is it a battery problem, or is the atomizer not functioning? Ask yourself these questions to pinpoint the fault.
Step 2: Gather Tools and Parts
Having tools like screwdrivers and replacement parts like rubber seals and coils can be beneficial. Make sure everything is ready before beginning the repair.
Step 3: Perform the Repair
Follow established procedures for repairing your specific model of e-cigarette. This might include replacing or cleaning the atomizer, resealing the tank, or fixing battery connections.
Step 4: Test the Device
Once repaired, test the e-cigarette to ensure it’s functioning correctly. Confirm that vapor production is adequate and there’s no leaking.
Preventative Maintenance Tips
Regular maintenance can minimize the need for repairs. Cleaning your device routinely and checking for wear and tear can keep it functioning as intended. Always manage the e-liquid levels and storage conditions to prevent leaks or other problems.
FAQs about E Cigarette Repair
Q: How often should I clean my e-cigarette?
A: It’s recommended to clean your e-cigarette at least once a week to ensure optimal performance and prevent issues.
Q: Can I replace the battery myself?
A: Yes, you can replace the battery yourself. Ensure you purchase the correct battery type specific to your e-cigarette model.
Q: What should I do if my e-cigarette still doesn’t work after repair?
A: If the device is still not working after performing repairs, consider seeking professional help or checking if the warranty applies for complex issues.
Understanding how to repair your e-cigarette can enhance your vaping experience by ensuring your device is always in top condition.
